14 Essential Steps for Restoring Your Own Automotive Masterpiece
The journey from “project car” to showpiece is long, but every step brings its own kind of satisfaction. The good news: you don’t need a bottomless wallet or an expert’s credentials to build your own masterpiece. What you do need is a roadmap, plenty of patience, and a willingness to get your hands dirty (along with learning, correcting, and sometimes just improvising). Ready to dig in? Below you’ll find a breakdown of the 14 essential moves every home restorer should master, from that first project brainstorm to the moment you turn the key and enjoy your creation. Whether you’re rebuilding a numbers-matching muscle car or breathing new life into a humble four-door, this guide is designed to turn ambition into achievement—and to remind you that every finished project is much more than the sum of its parts.
1. Set Your Restoration Goals and Budget
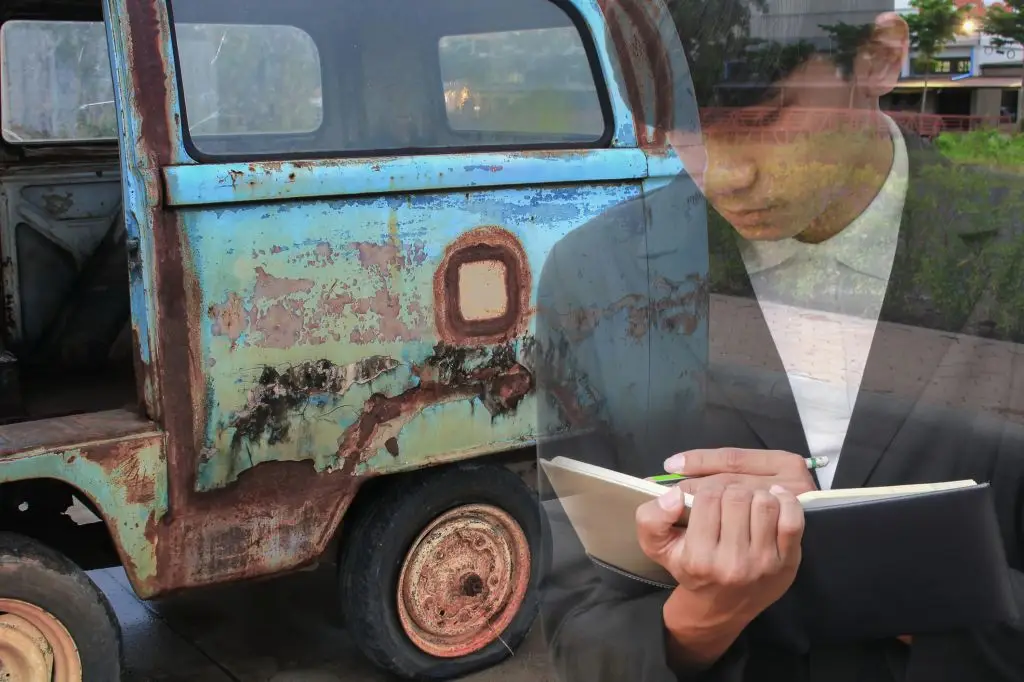
Every successful project starts with an honest conversation—what do you want this car to become? Are you after a weekend cruiser, a concours winner, or something in between? Set clear goals from day one, and write them down. That vision will guide every part decision, every repair, and every dollar spent. Speaking of dollars: be realistic about what you’re willing and able to invest. Factor in not just parts and paint, but tools, shop supplies, and unforeseen hiccups (every project has them). The smartest restorers include an extra cushion in their budget—it’s better to overestimate than to run dry halfway through. Think about your priorities: is the dream to keep it stock for nostalgia, or would a few modern touches make driving more enjoyable? Take the time to research typical costs for your make and model, and don’t be afraid to ask people in online forums about hidden expenses. Your goal and your budget are the foundation for everything that follows. Nail them, and you’ll save yourself plenty of headaches down the road.
2. Choose the Right Car for Your Project
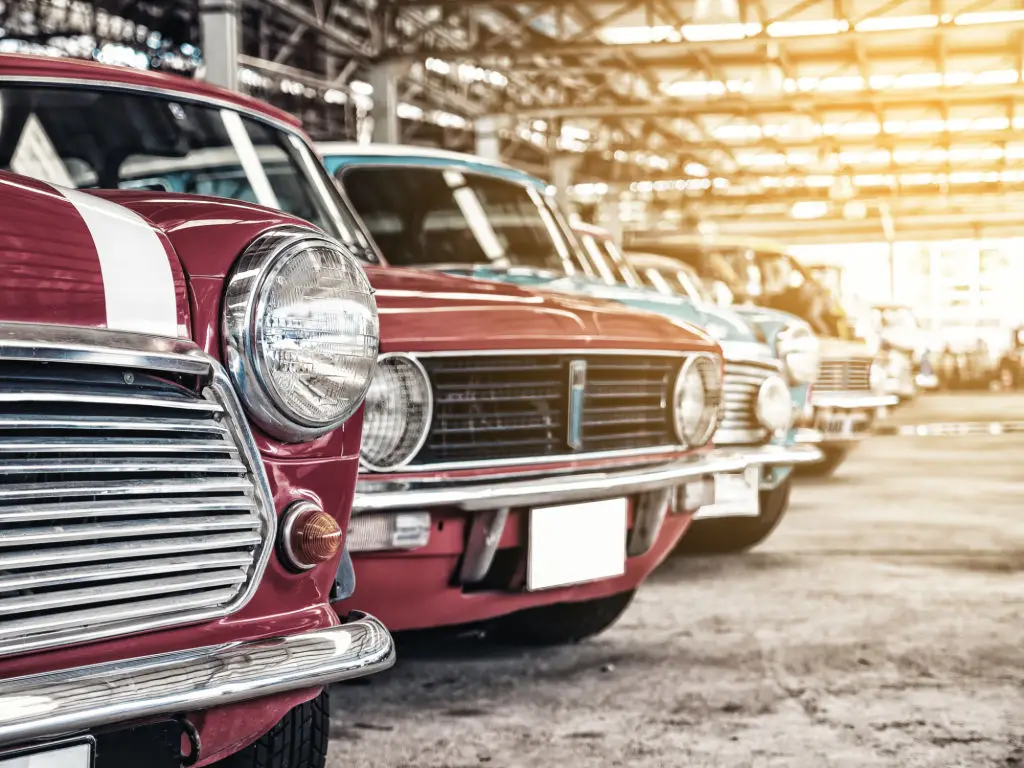
The hunt for the perfect project is half the fun—and it pays to do it right. Some cars offer great parts support and solid resale value, while others become money pits almost overnight. Look closely at initial condition: major rust, frame damage, or incomplete paperwork can turn an exciting find into a never-ending struggle. Bring a flashlight and check every corner for corrosion or oddly fresh paint (a common patch-up trick). Ask about title and registration status, especially with older or imported vehicles. Does the car come with rare trim or hard-to-find mechanical bits? Finding out later can derail timelines and budgets. For some, personal attachment (maybe it’s a family car or the one that got away in college) trumps all else—and that’s okay, too. Remember: it’s about your connection to the build, not just numbers on paper. Pick a project that excites you now and will keep you motivated when things get complicated.
3. Build Your Workspace and Toolbox
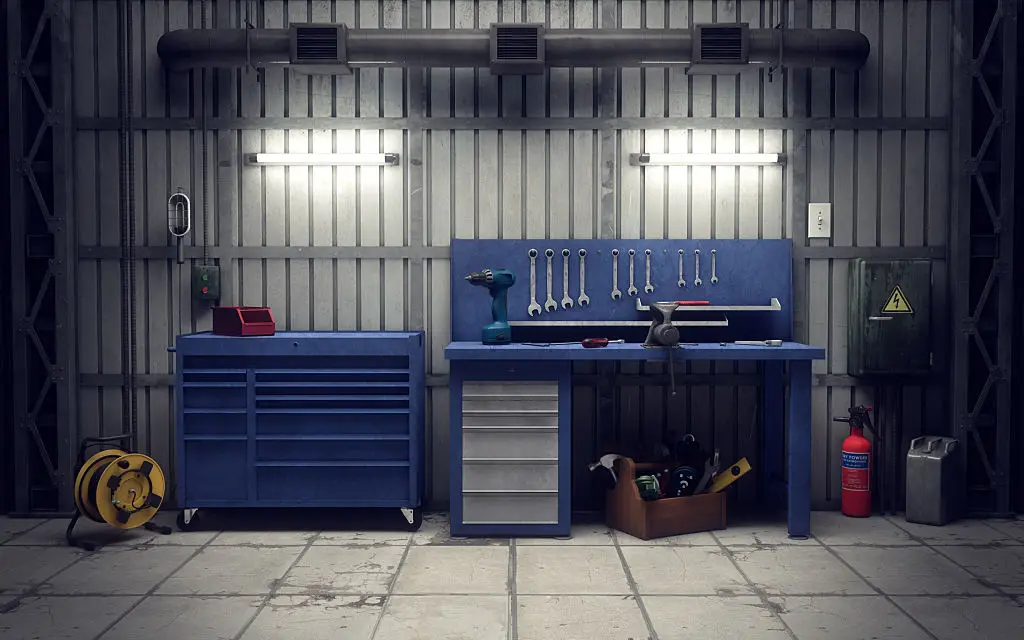
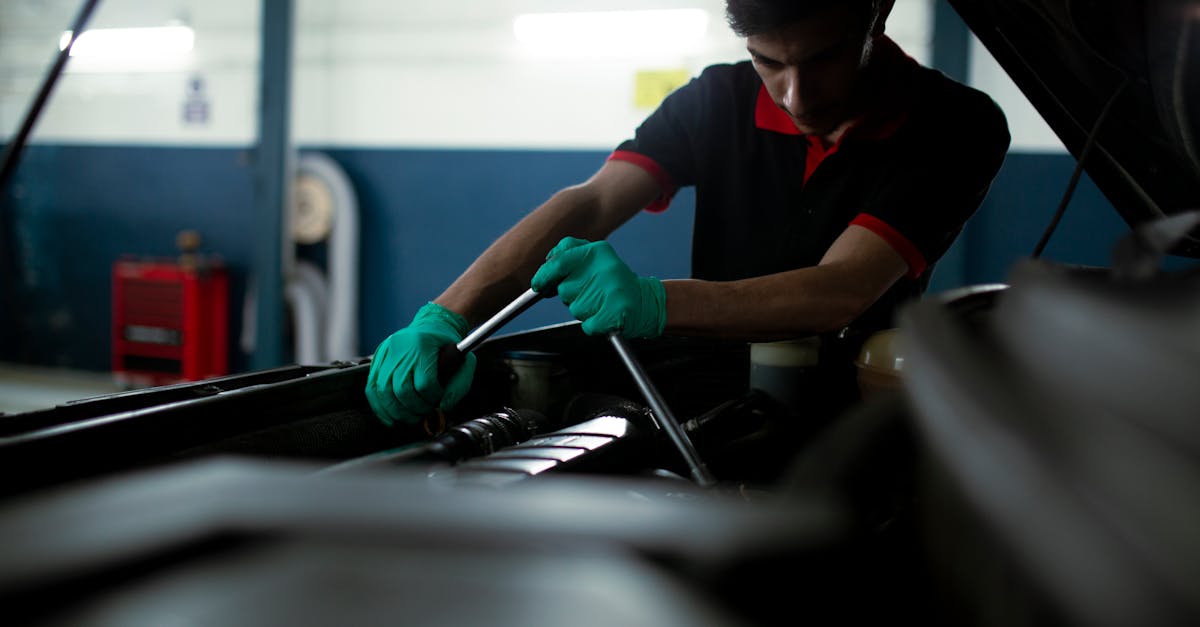
Every masterpiece gets built somewhere—make yours a safe, comfortable, and organized space. You’ll need good lighting (think LED shop lights), a stable floor jack and sturdy jack stands, and a clean bench for parts. A basic tool set—wrenches, sockets, screwdrivers—is just the beginning; as the project rolls along, you’ll probably discover a few specialty tools worth investing in. If space allows, a dedicated “clean zone” for engine and transmission work is a major plus. Don’t overlook safety gear: gloves, eye protection, ear plugs, and a fire extinguisher are must-haves. Keeping your shop tidy not only looks good, it genuinely helps you stay focused and avoid costly mistakes. Many hobbyists mount whiteboards or pegboards on the wall for notes and tools. The right setup doesn’t have to be fancy, just functional. Remember: frustrations feel smaller in an organized workspace.
4. Document Everything Before Teardown
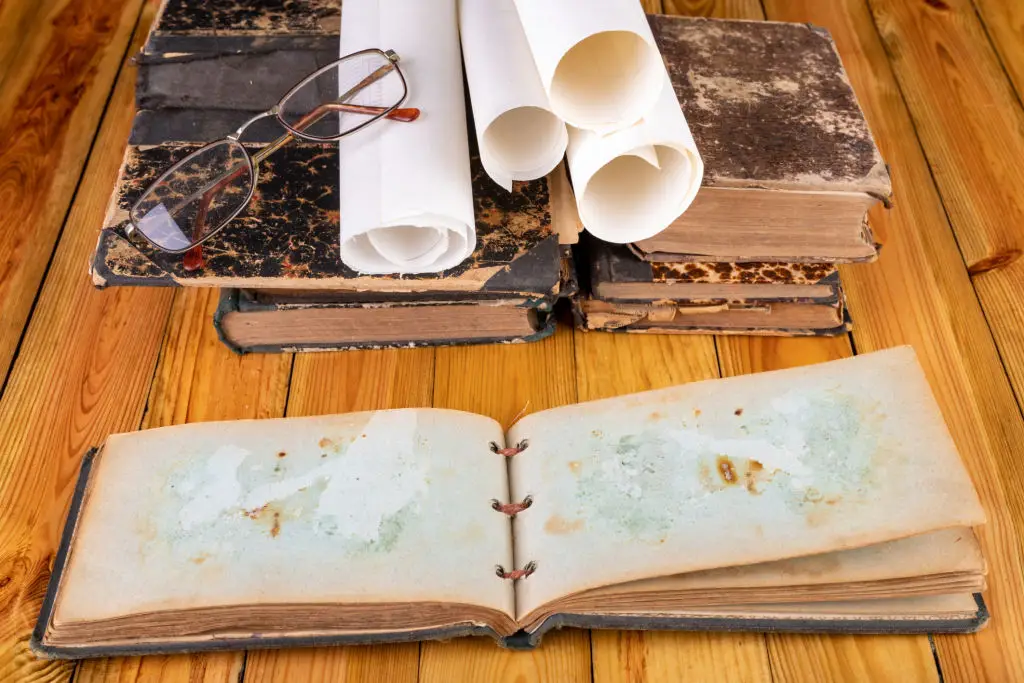
Before you pull the first bolt, grab your phone or camera—and lots of zip bags and sticky labels. Every part you remove—from the bumpers to those odd little electrical connectors—should be photographed and tagged. Organize parts with notes about where they came from (and how they fit back together). Use spreadsheets, hand-drawn diagrams, or phone apps to catalog important assemblies. Experienced restorers swear by bagging all small hardware by group—then labeling it with painter’s tape or a Sharpie. The extra time you spend now is a lifesaver months later, when reassembly begins and that “mystery screw” turns up. A little documentation discipline saves money, hassle, and extra trips to the hardware store down the line. Trust us—future you will thank you.
5. Perform a Complete Teardown
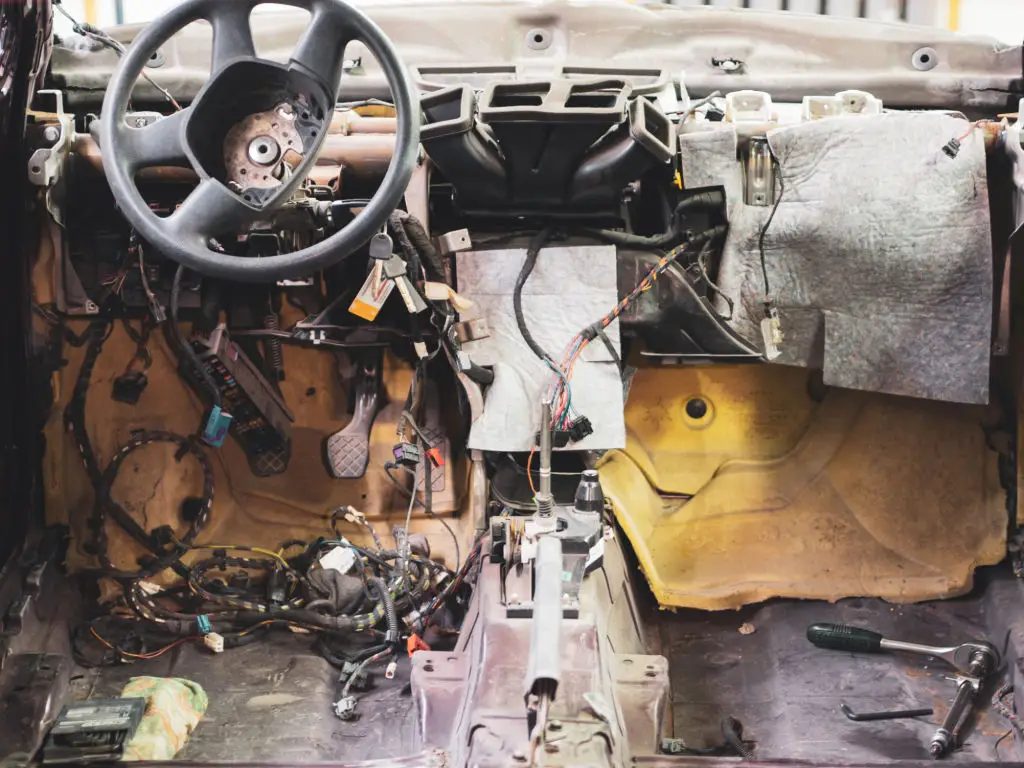
Here’s where the real fun begins. Whether you’re going for a full frame-off restoration or just a deep refresh, method matters. Work system by system—pull the engine, drop the suspension, remove the glass and interior—rather than attacking everything at once. Keep hardware and big parts in separate bins or labeled boxes. Watch for hidden issues like rusty floor pans or makeshift repairs out of sight. It’s common to find more problems than expected; don’t get discouraged. Take plenty of photos as you go, and update your parts catalog. Each bit you pull brings you one step closer to the blank canvas you’ll build on. The more organized and detailed your teardown, the easier the climb back up will be.
6. Evaluate, Clean, and Inspect Each Part
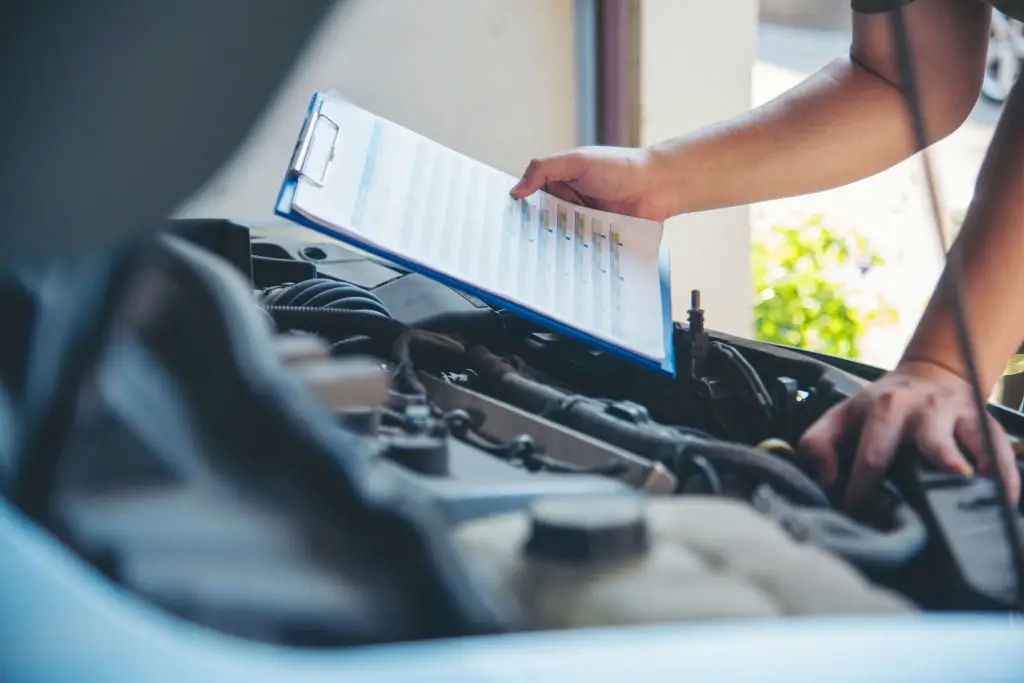
With everything laid out, shift gears: every nut, bolt, and bracket gets a second look. Clean grime and old grease away—parts are much easier to inspect when they’re shiny (or at least not coated in fifty years of funk). Use plastic tubs and wire brushes, plus degreaser safe for different metals. Make three piles: what you’ll restore, what you’ll refurbish, and what simply needs to be replaced. Look closely for fatigue (cracks, pitting), wear, or outright broken bits. Some items—like wiring and rubber bushings—are almost always due for replacement. Document everything, and start a shopping list with the most important components first. Getting this right now saves second-guessing (and double spending) later on.
7. Tackle Rust and Address Body Issues
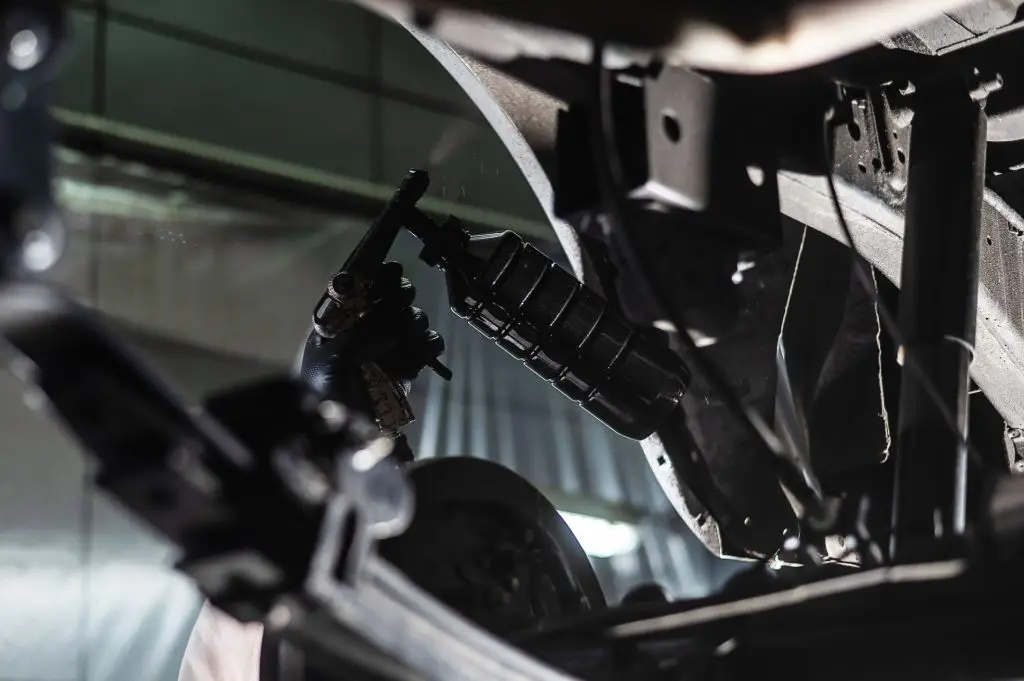
Rust never sleeps—and every old car has a patch or two (or ten). The battle starts with cutting out rusted metal and treating minor areas with converters or encapsulators. For serious corrosion (frame or floor pan rot), patch panels or professional welding may be required. Media blasting can reveal hidden trouble spots but demands safety gear and know-how. Use body filler only on minor imperfections—never as a substitute for real metal. Decide if a pro shop is needed for big stuff, but try small repairs yourself if you have the tools and patience. The cleaner and straighter the foundation, the better your paint and trim will look. Take your time here: bodywork can test anyone’s patience, but it makes all the difference when your ride finally hits the street.
8. Plan and Prep for Paint
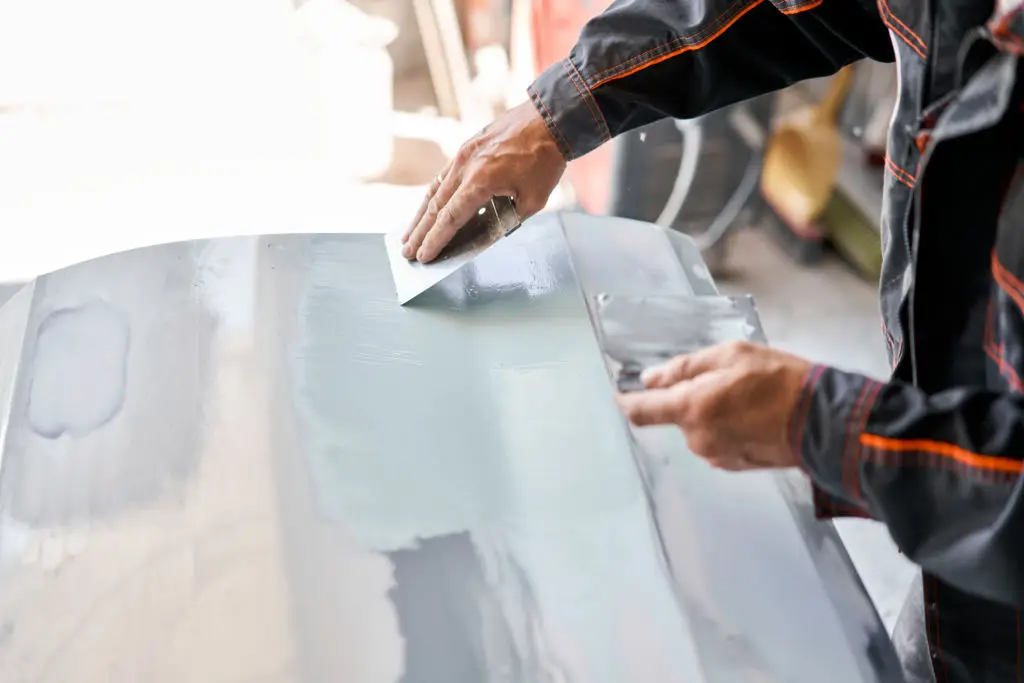
This is where your vision starts to become reality. Painting a car isn’t just about spraying color—it’s every hour you spend prepping, sanding, and priming. Strip old paint with care, repair dings, and make sure every surface is flawlessly smooth before thinking about color coats. Choosing primer and paint types depends on your skill and workspace: modern basecoat-clearcoat finishes look great but demand careful masking and clean conditions. Some restorers handle paint at home, while others wisely hire a body shop for this stage. Even if you farm out the work, you’ll get better results by prepping the body yourself. Color matters: will you stick with the original shade or make a personal statement? No wrong answer here—just make it yours. The better the prep, the more eye-popping the payoff under show lights.
9. Rebuild or Replace the Drivetrain
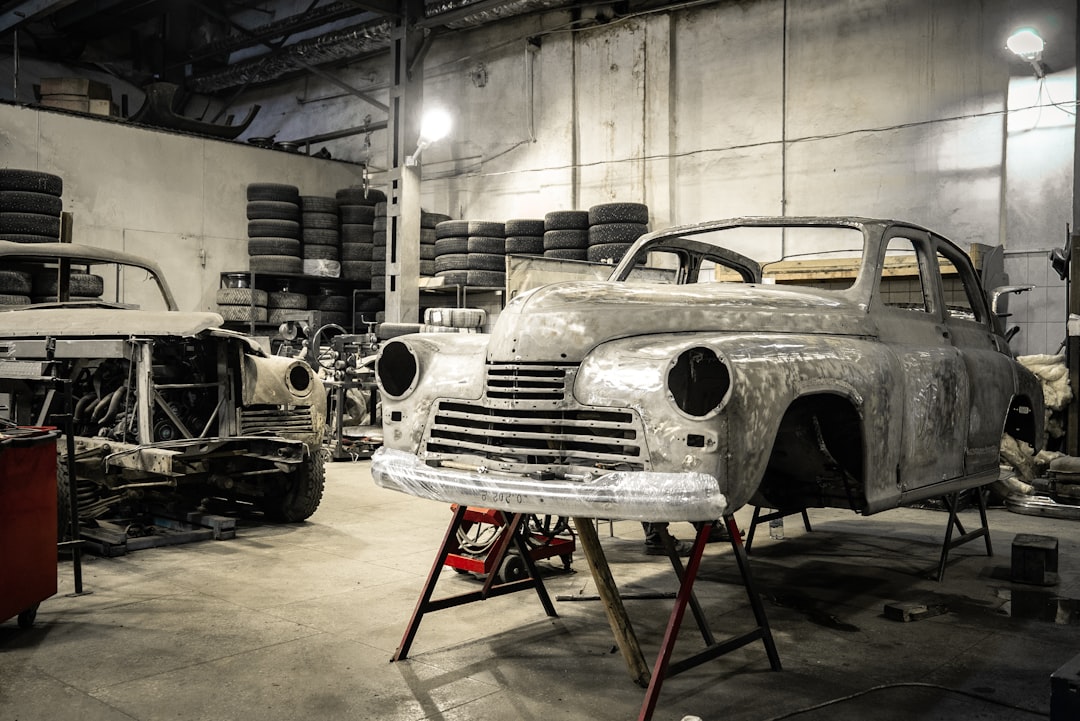
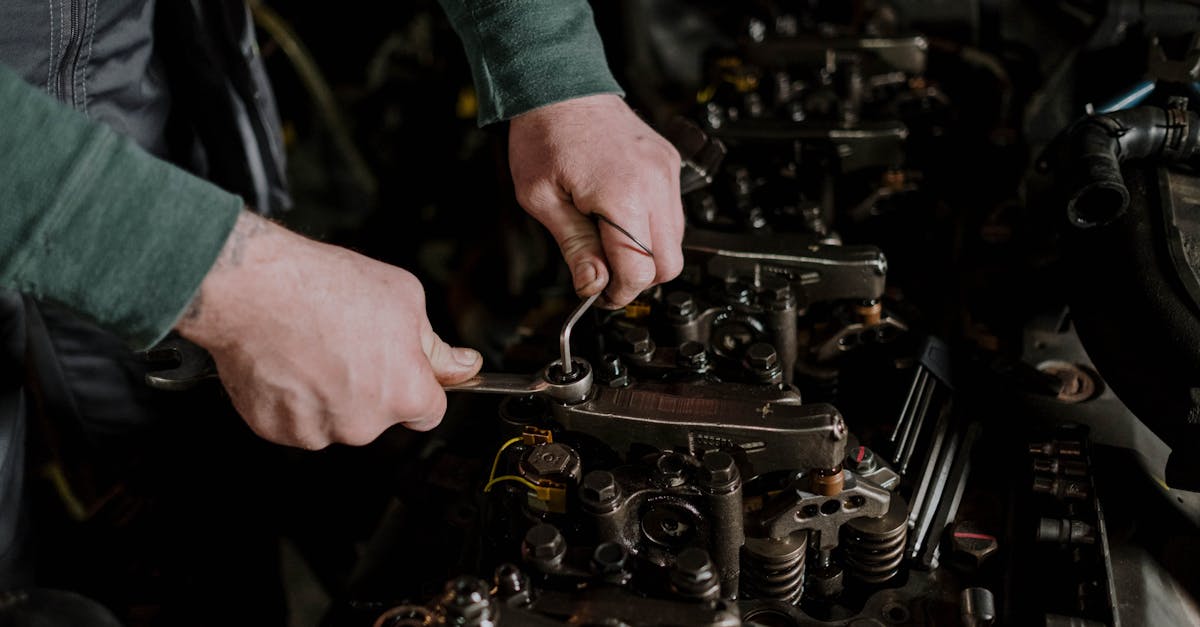
The heart of any ride is its engine, transmission, and differential—the “go” in your project’s show-and-go. Decide early: will you rebuild what’s there (cheaper, more authentic), buy a remanufactured assembly, or spring for aftermarket power? Inspect for wear: cylinder walls, crank bearings, transmission internals, and gears all reveal critical info about previous life. “Matching numbers” are key for collectors, but street cars benefit from clever upgrades (think stronger clutches, better cooling, electronic ignition). If you’re not familiar with engine internals, enlist a reputable local shop for machine work or tricky assemblies. Keep all old parts until the new setup is verified. A strong, reliable drivetrain makes for worry-free cruising—and builds real confidence when you finally twist the key.
10. Overhaul the Suspension and Brakes
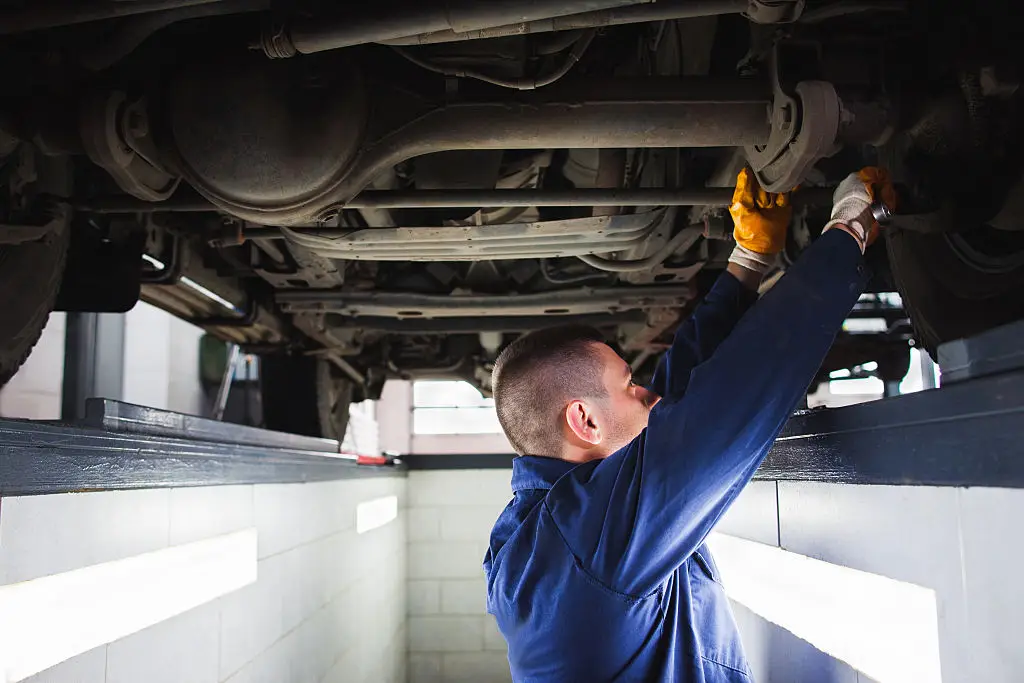
Good looks are nothing without road manners and stopping power. Check every rubber bushing, ball joint, spring, and shock absorber for age and damage. Replace as needed—performance suspension upgrades are increasingly affordable and make a dramatic difference. Stock geometry often feels floaty by today’s standards, so stiffer sway bars or improved struts can sharpen handling without ruining the ride. Inspect brake lines, rotors, drums, pads, and hoses—this system is your last line of defense. Many hobbyists swap in power or disc brakes for added safety and confidence. Alignment matters; getting it right transforms the way your masterpiece feels on the road. Every mile will be more enjoyable if your car is planted, predictable, and stops on a dime.
11. Refresh Electrical and Wiring Systems
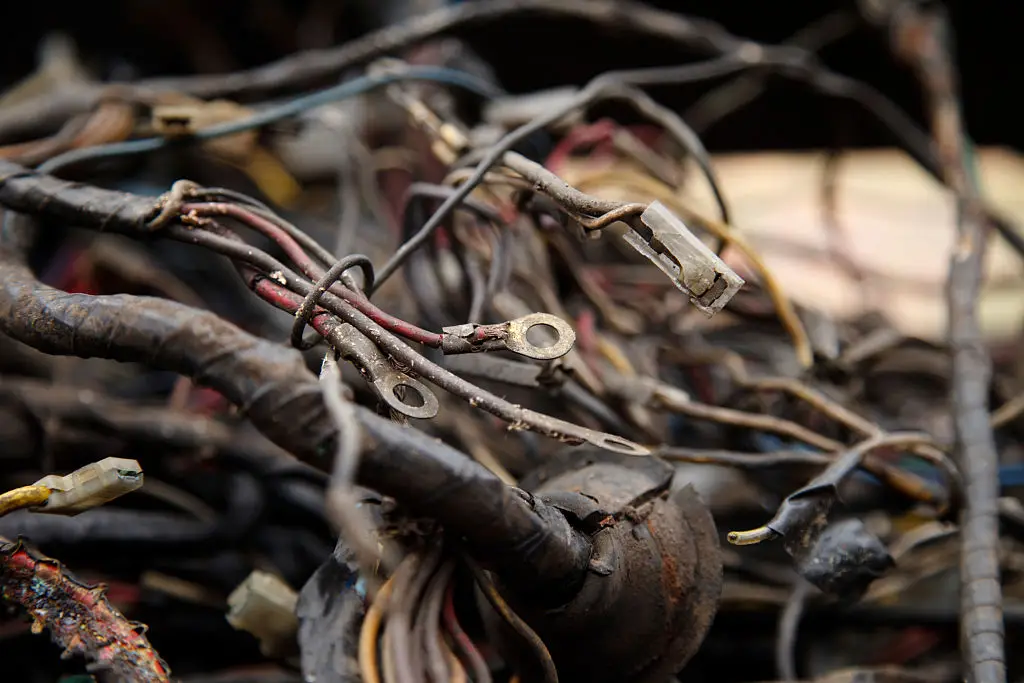
Electrical gremlins are notorious for delaying project finish lines. Start with wiring harnesses: old insulation cracks over time, leading to shorts and frustration. Replace brittle wires, corroded connectors, and questionable splices. Upgrading to modern fuses (and relays) isn’t just safer, it often prevents future headaches. Organize wiring with clips and loom so future repairs are easier. Don’t forget grounds—many mysteries trace back to a single missed or rusty ground strap. Double check lighting, ignition, gauges, and charging system. Many car-loving friends recommend keeping simple diagrams handy for quick troubleshooting. Take your time here; meticulous electrical work pays dividends for years after the first ignition click.
12. Restore the Interior and Trim
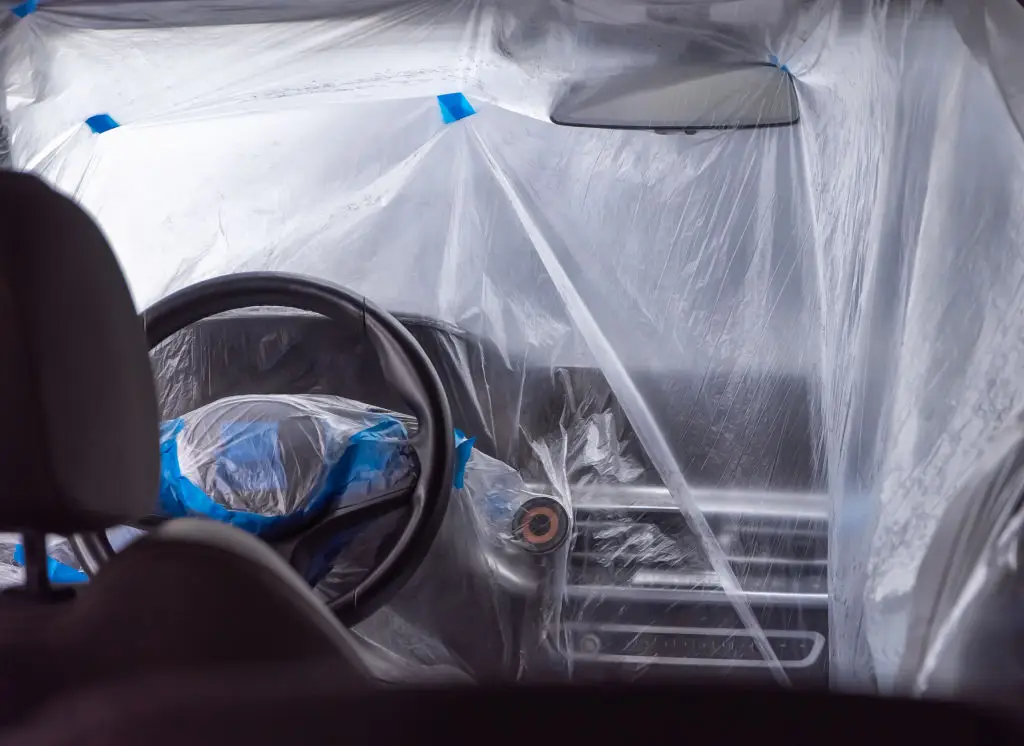
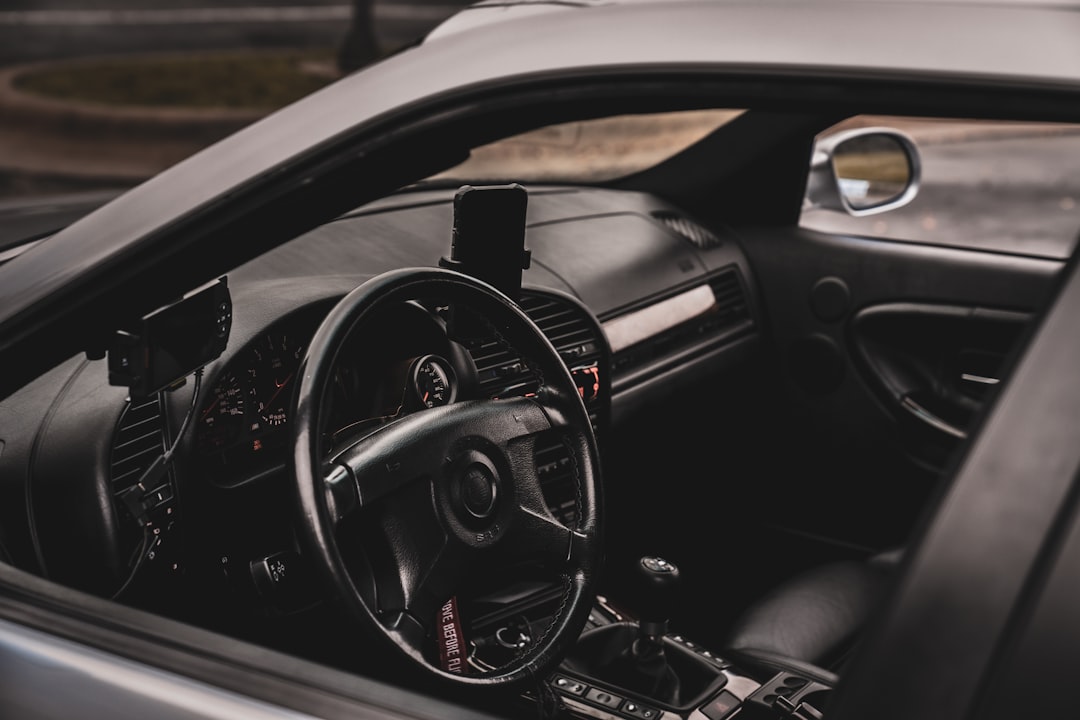
Slip behind the wheel of a freshly restored interior and everything feels new again. Start with deep cleaning, then fix or replace what’s worn—seat upholstery, carpets, headliners, and door cards usually top the list. Restore or upgrade your dashboard: functioning gauges, tidy wiring, and period-correct knobs all make a big difference. Restoring chrome trim, emblems, or wood accents is painstaking but adds serious wow factor. For some, originality wins (factory-spec materials and colors); others opt for subtle upgrades (like sound-deadening mats or heated seats). There’s joy in mixing old-school charm with new-school comfort, so don’t be afraid to put your own spin on finishes and features. The cabin is where every journey starts—make it a place that feels as special as the car looks outside.
13. Reassemble and Troubleshoot
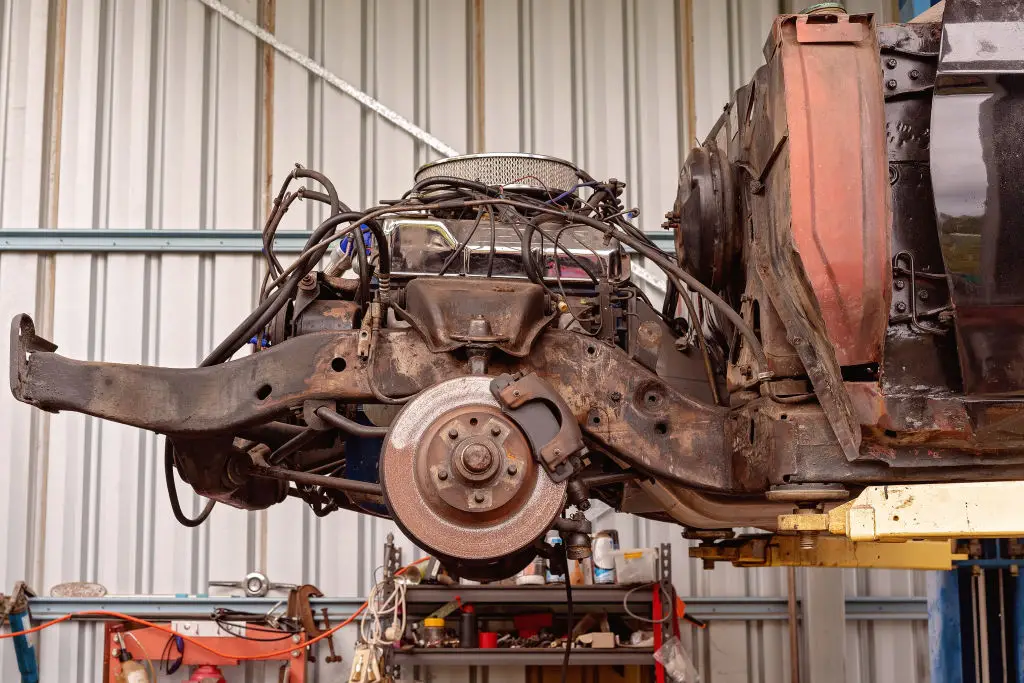
The finish line’s in sight! Now, all that careful organization and documentation comes into play. Reassemble methodically: start with main mechanical systems (engine, suspension, wiring), then add interiors and trim. Double check each step against your photos and notes—no shame in phone-calling a friend or leaning on online forums when something doesn’t fit the way you remembered. Expect a few curveballs: warped parts, mystery leaks, or gremlins that weren’t obvious during teardown. Go slow, test subsystems individually, and address issues as they appear. Every puzzle piece that goes back brings a wave of satisfaction, and soon your project starts looking like a car again (instead of a collection of parts). Take pride in every stubborn bolt that finally cooperates.
14. Test Drive, Tune, and Celebrate
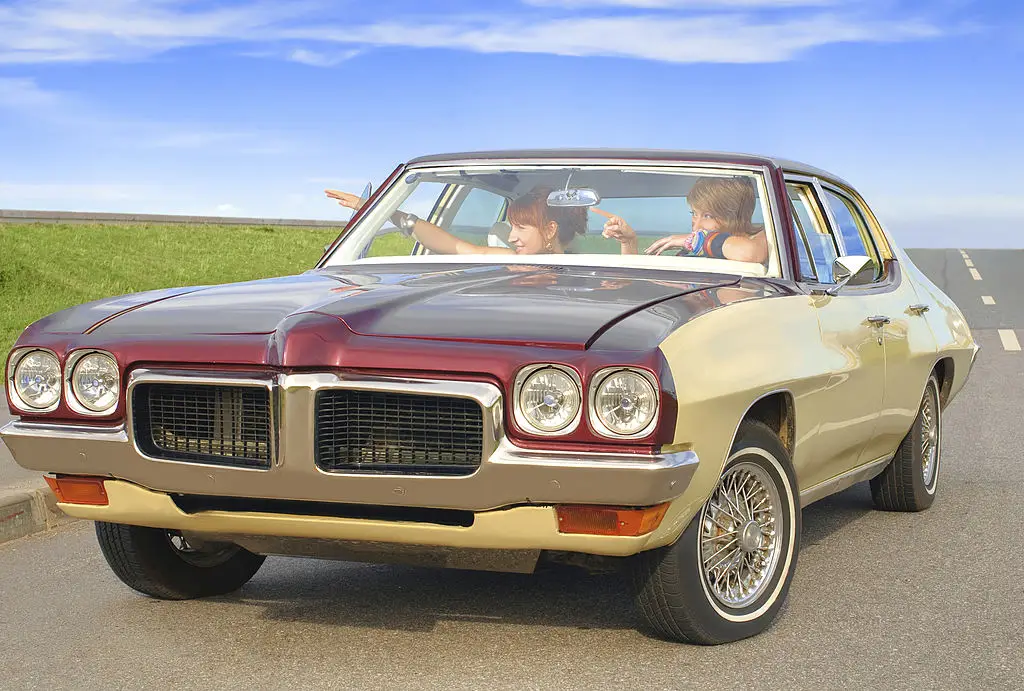
Here’s the payoff: firing up the engine, hearing it catch for the first time, heading out onto the open road. Before you log those debut miles, double-check every system: brakes bled, all fluids topped, and no weird noises or smoke. The initial drive is equal parts thrill and anxiety—take it easy, listen for odd vibrations, and keep a toolkit on board. Fine-tune carburetion, ignition, suspension, and brakes as needed. Invite friends, family, or your favorite online car community to share the “reveal”; a project like this is meant to be celebrated. Whether you finish with a ribbon at a local show or just a sense of accomplishment, remember why you started. Every mile, every smile, is a tribute to your dedication—and the love of the drive.
The Joy (and Pride) of Finishing Your Own Automotive Masterpiece
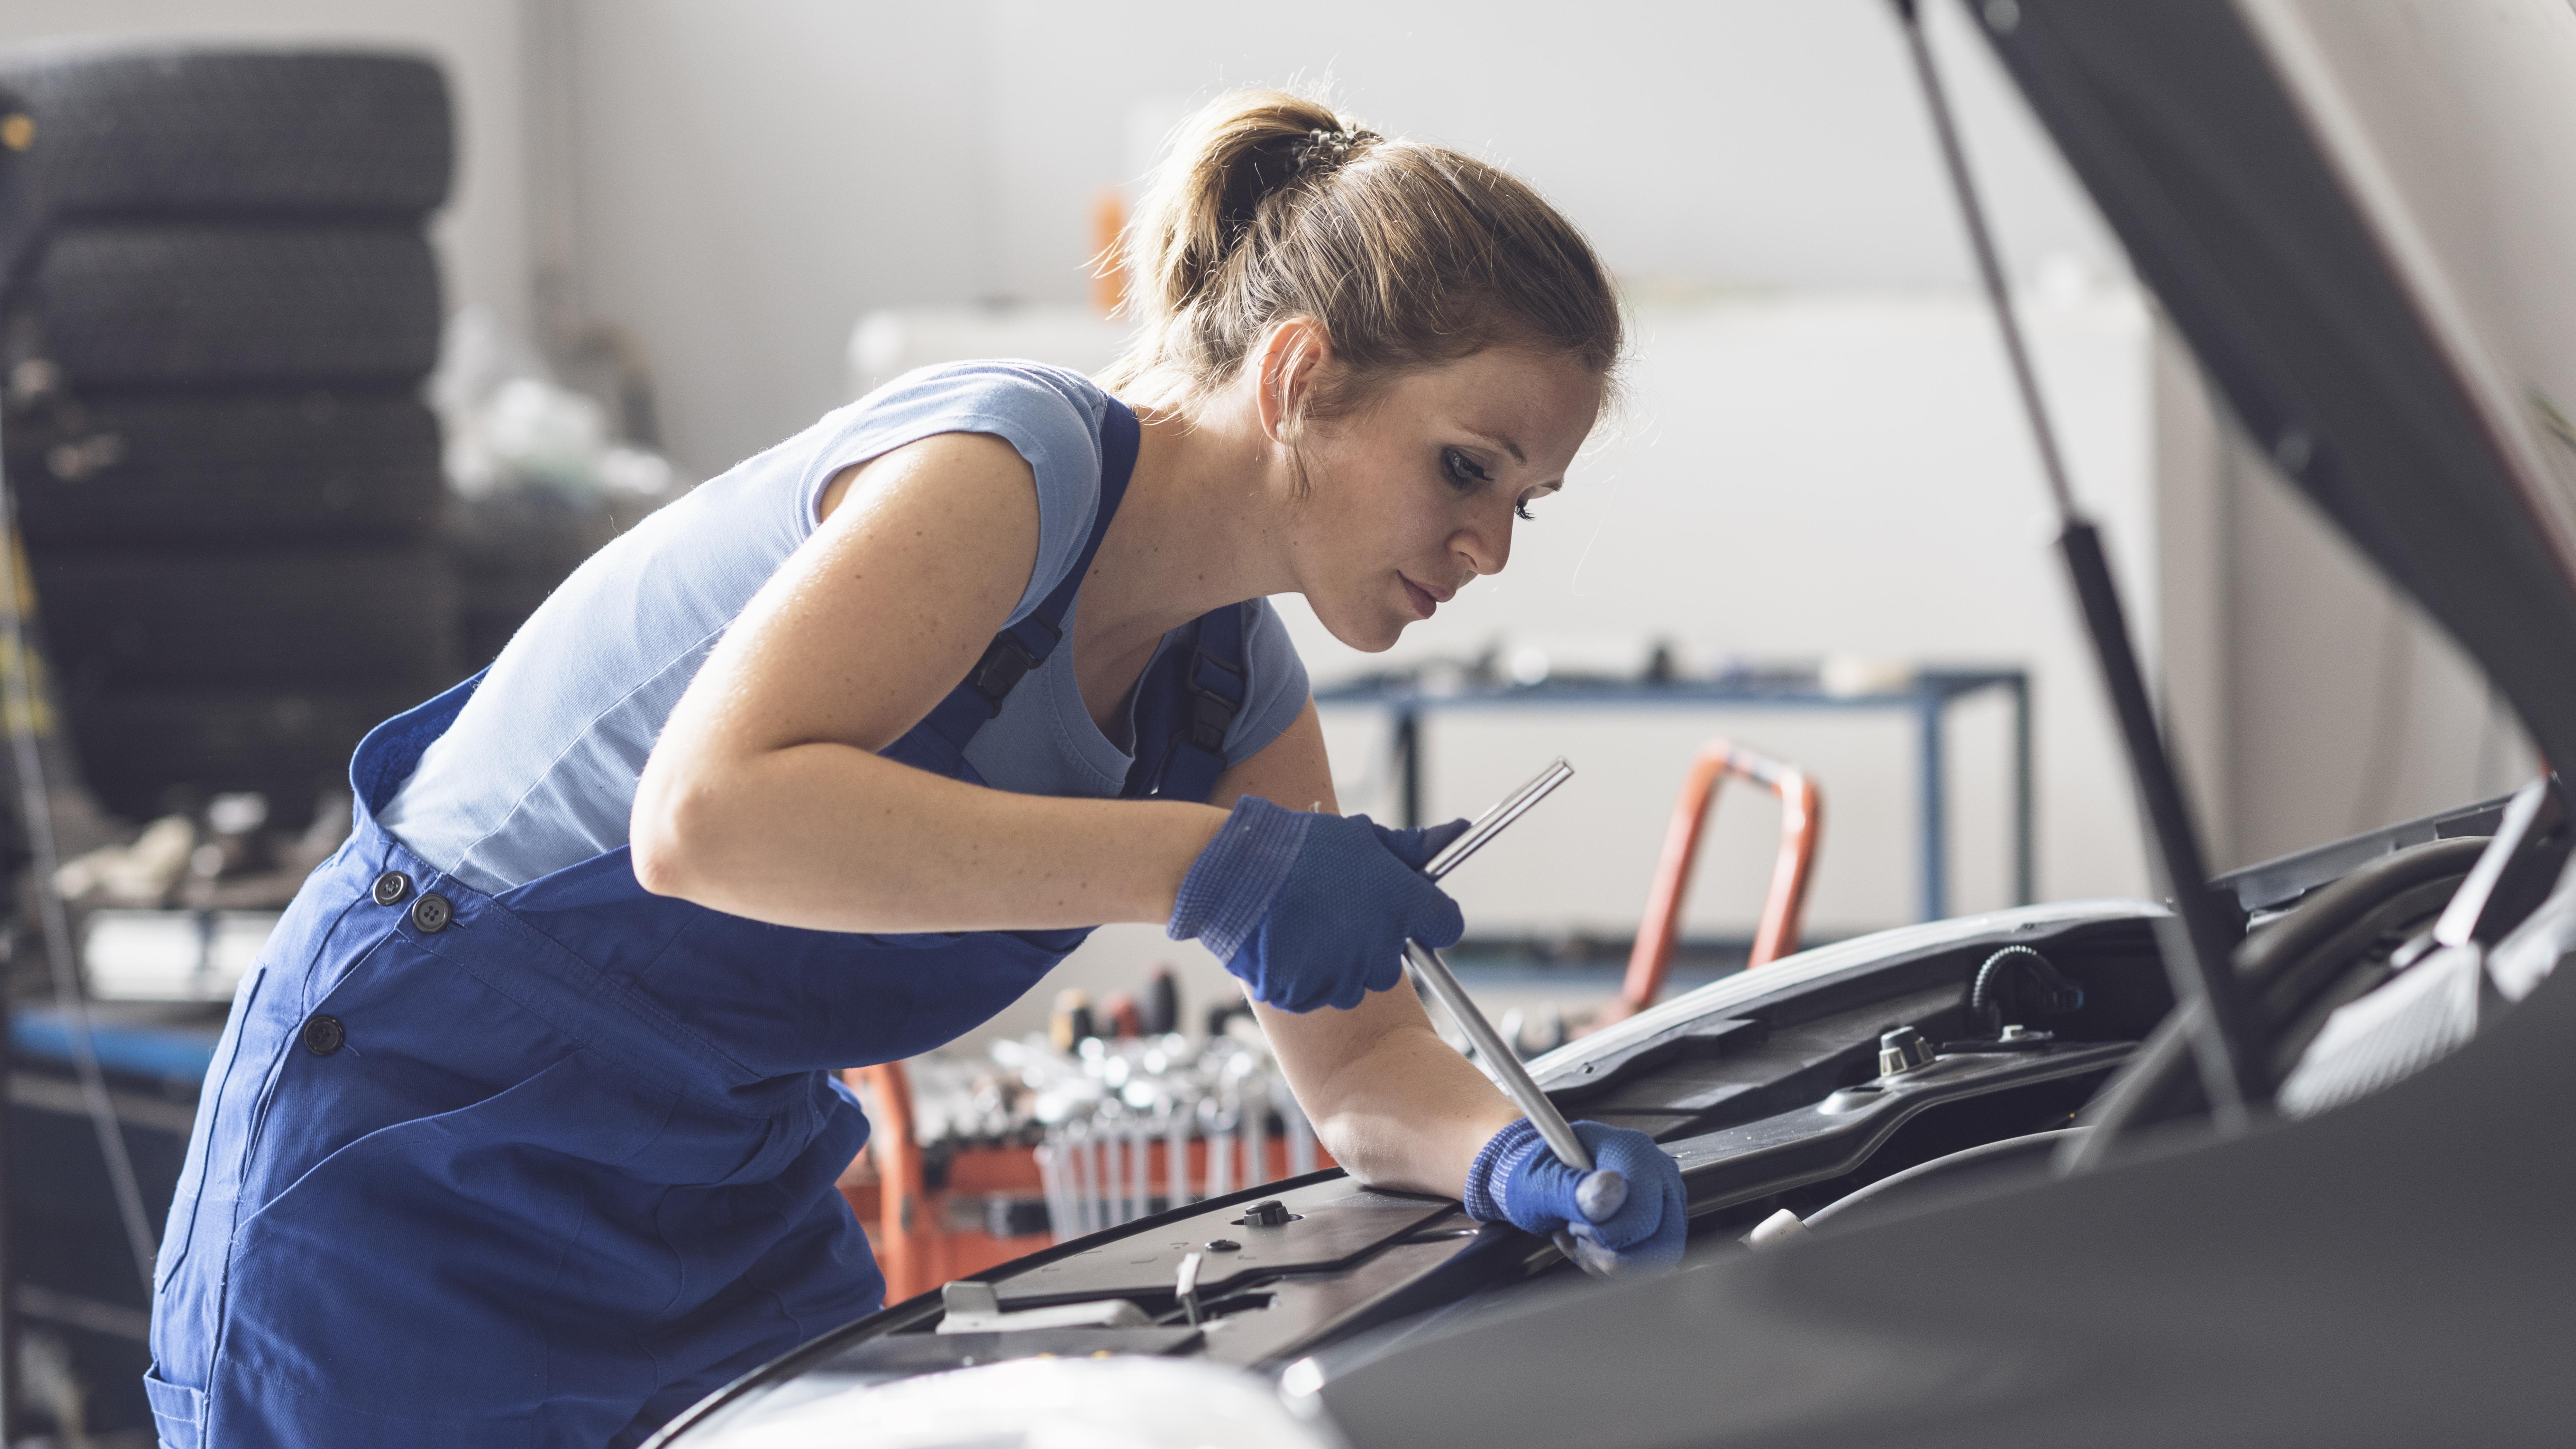
Completing a full restoration isn’t just a technical achievement—it’s an emotional one. You’ll look back at the scraped knuckles and late nights with pride, knowing every bolt holds a story. The connection you forge with your car by doing the hard work yourself is unlike anything a quick flip or high-dollar auction win can provide. This was your vision, realized through your effort and commitment. Expect setbacks, odd surprises, and moments when you question your sanity. But also expect to learn new skills, make friends, join a community, and feel the surge of pride each time you see your handiwork glinting in the sun. Whether you plan to drive across the country, take home trophies, or just enjoy weekend coffee runs, your finished project becomes a rolling testament to what’s possible with focus and heart. Here’s to the start of your restoration—and the stories you’ll create on the road ahead.

