How To Use Expanding Foam To Re-Build Your Car
Using expanding foam to fix specific parts of a car or even wholly re-styling a vehicle can be an enjoyable task, as well as being a considerably inexpensive fix that one can probably do on their own in most situations. Using expanding foam is usually intended to fill rust holes in non-structural metal parts of a vehicle’s body, or fillinggaps in plastic parts, such as bumpers, before the application of body-filler.
A Cheaper Solution
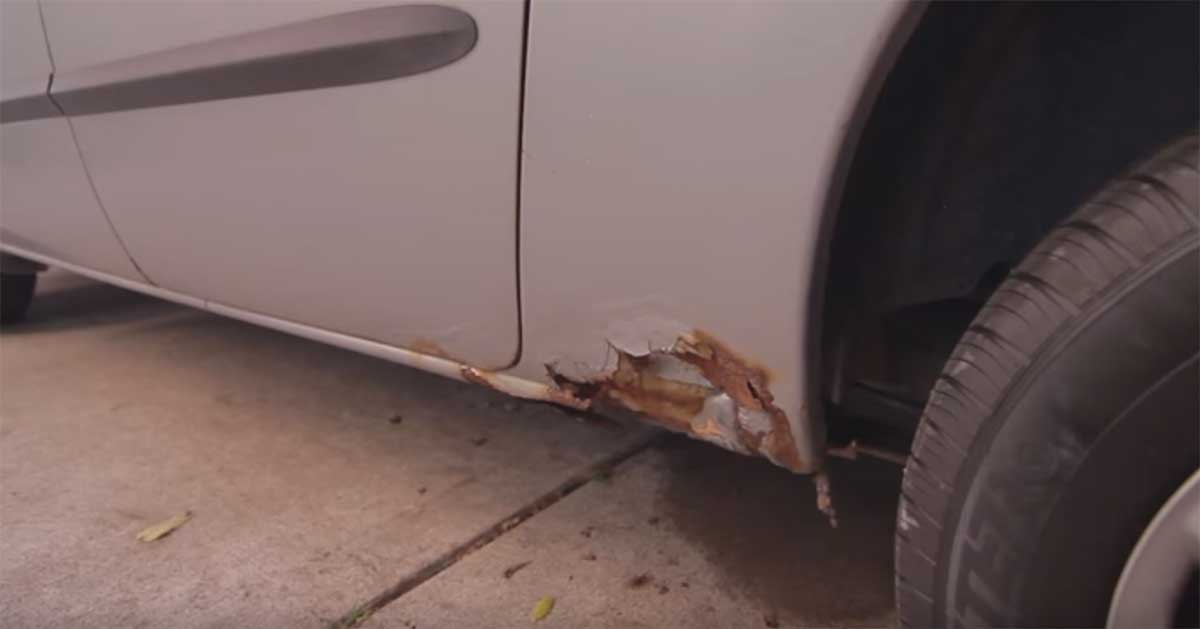
The main reason some car or truck owners decide to use this technique instead of grinding and welding is because using expanding foam usually comes out much cheaper than sending a car to a body shop. The most common use of expanding foam is to patch up rust holes on non-structural parts of the vehicle. To do this, use different grades of sandpaper, rust stopper, grinding disks or similar tools to tear off loose paint and rusted metal. Be sure to have the primer and the proper color automotive paint for the vehicle before setting to work. It is essential to have a dry environment, such as a garage, where the car can stay between steps.
Step 1 – Grinding Off the Rust

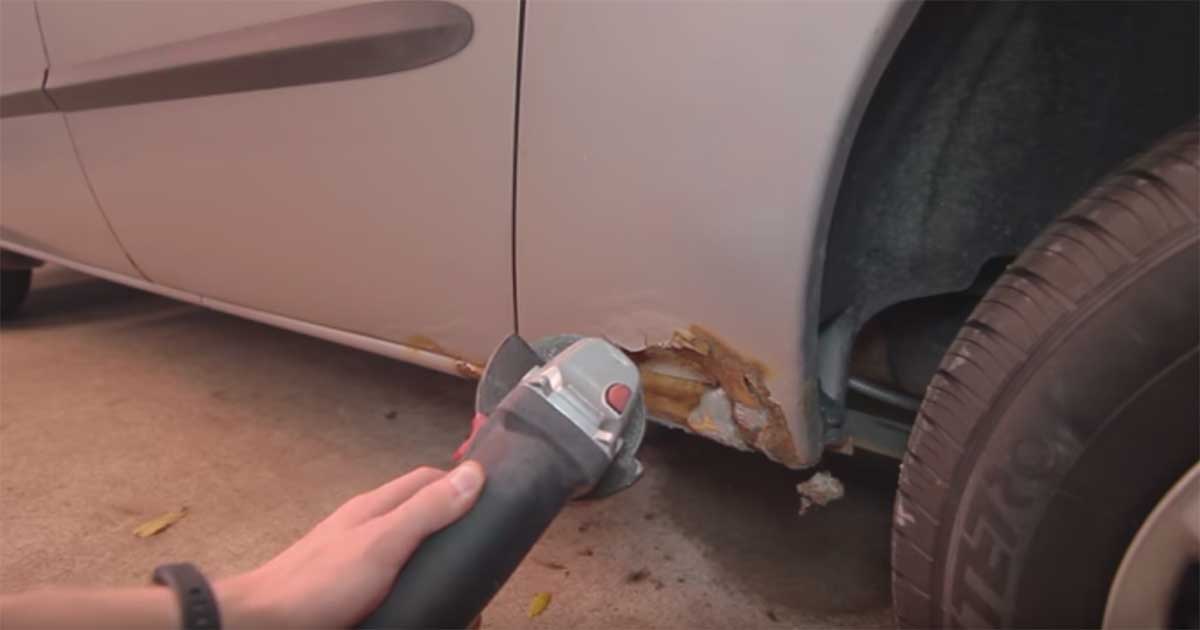
The first step is to remove as much loose rust and paint as possible from the rust hole using a scraper or even a flathead screwdriver. If a disk grinder is available, it can be used to get rid of most of the rust. Be careful to not cut any structural metal, such as corners on doors. Removing as much rust as possible and still preserving the bordering structures is vital so there is a base to hold the expanding foam.
