14 Essential Steps for Restoring Your Own Automotive Masterpiece
3. Build Your Workspace and Toolbox
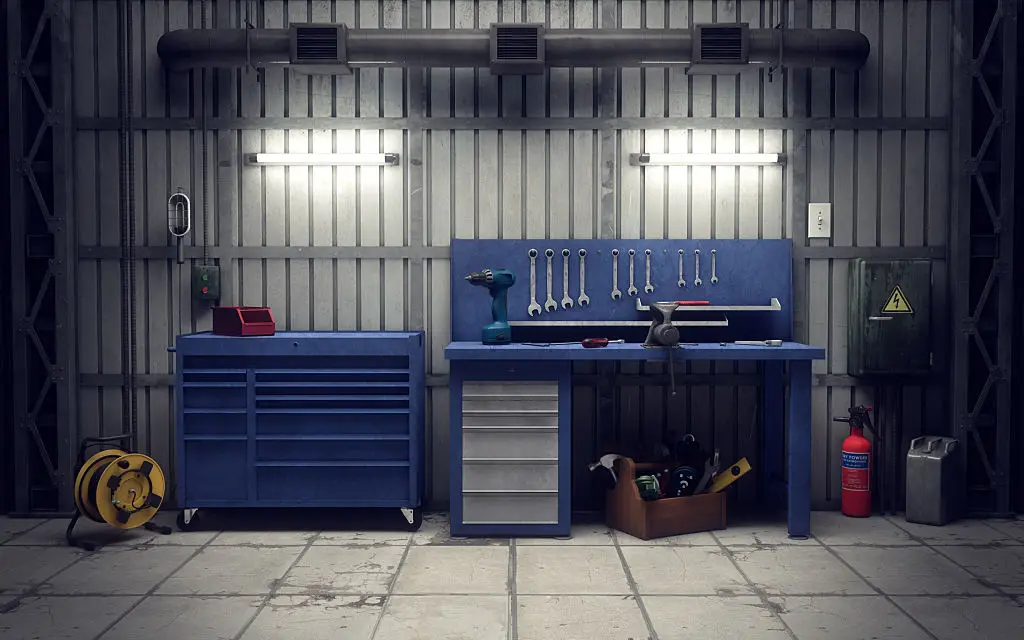
Every masterpiece gets built somewhere—make yours a safe, comfortable, and organized space. You’ll need good lighting (think LED shop lights), a stable floor jack and sturdy jack stands, and a clean bench for parts. A basic tool set—wrenches, sockets, screwdrivers—is just the beginning; as the project rolls along, you’ll probably discover a few specialty tools worth investing in. If space allows, a dedicated “clean zone” for engine and transmission work is a major plus. Don’t overlook safety gear: gloves, eye protection, ear plugs, and a fire extinguisher are must-haves. Keeping your shop tidy not only looks good, it genuinely helps you stay focused and avoid costly mistakes. Many hobbyists mount whiteboards or pegboards on the wall for notes and tools. The right setup doesn’t have to be fancy, just functional. Remember: frustrations feel smaller in an organized workspace.
4. Document Everything Before Teardown

Before you pull the first bolt, grab your phone or camera—and lots of zip bags and sticky labels. Every part you remove—from the bumpers to those odd little electrical connectors—should be photographed and tagged. Organize parts with notes about where they came from (and how they fit back together). Use spreadsheets, hand-drawn diagrams, or phone apps to catalog important assemblies. Experienced restorers swear by bagging all small hardware by group—then labeling it with painter’s tape or a Sharpie. The extra time you spend now is a lifesaver months later, when reassembly begins and that “mystery screw” turns up. A little documentation discipline saves money, hassle, and extra trips to the hardware store down the line. Trust us—future you will thank you.
