How To Paint Your Own Car
IPainting your car at home can be a cost-effective way to restore its look. With the right tools and techniques, you can achieve a professional result without the high expense of professional detailing.
What You will Need
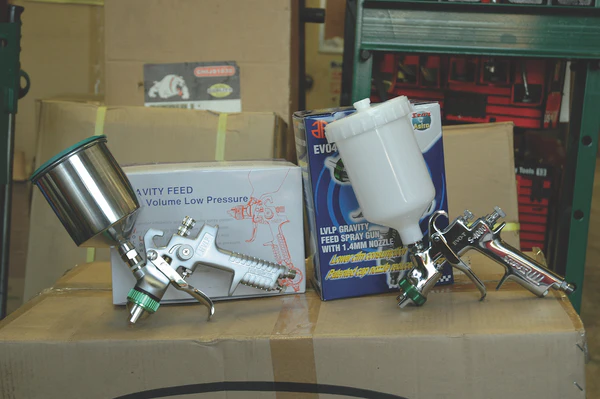
Gather all supplies: paint, acetone, primer, foam brushes, sandpaper, painter’s tape, and a spray gun for a smooth, efficient process.
Prep Work
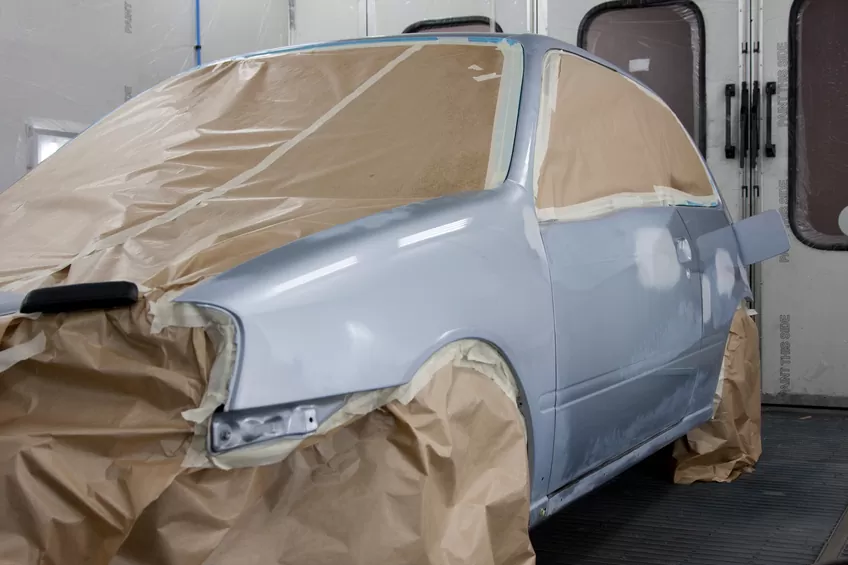
Clear the work area and wash the car. Cover or remove items like headlights, mirrors, and trim, then tape off unpainted areas to avoid mishaps.
Priming
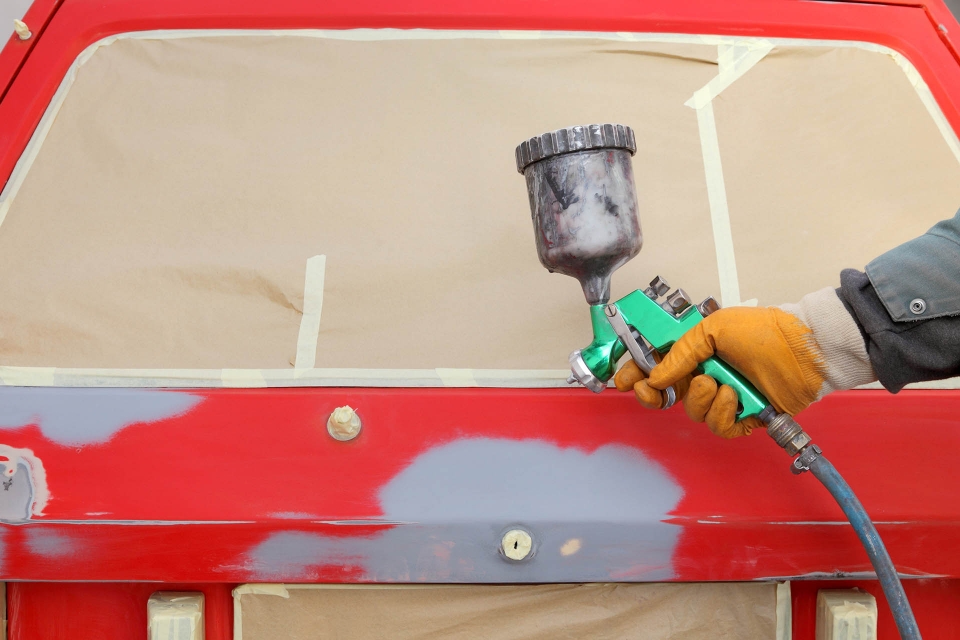
A primer coat helps the paint adhere to the car’s surface. Use a two-stage spray gun to apply light coats, letting each dry before adding another, and ensure an even flow by holding the trigger until the pressure equalizes.
Wet Sand
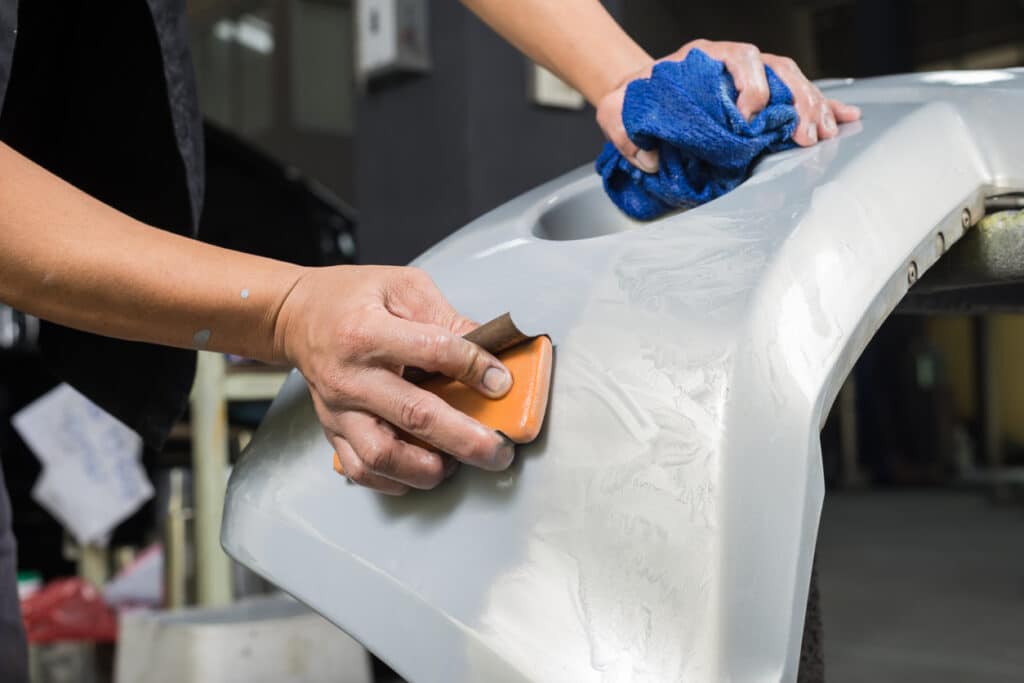
Wet sand the car with 600-grit sandpaper, keeping it wet, and gently rub to remove impurities. Continue with 400-grit sandpaper, then finer grits, and finish by rinsing the car to remove dust and particles.
Spray Painting
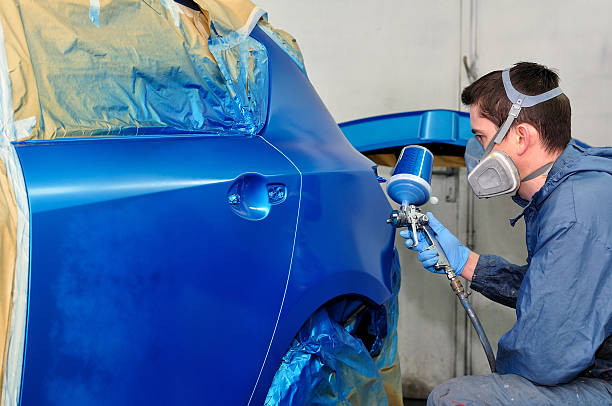
Once the primer is dry, apply two coats of paint using a spray gun in smooth, continuous motions to avoid drips or uneven coverage. Avoid interruptions to ensure a clean, even finish.
Finishing Touches
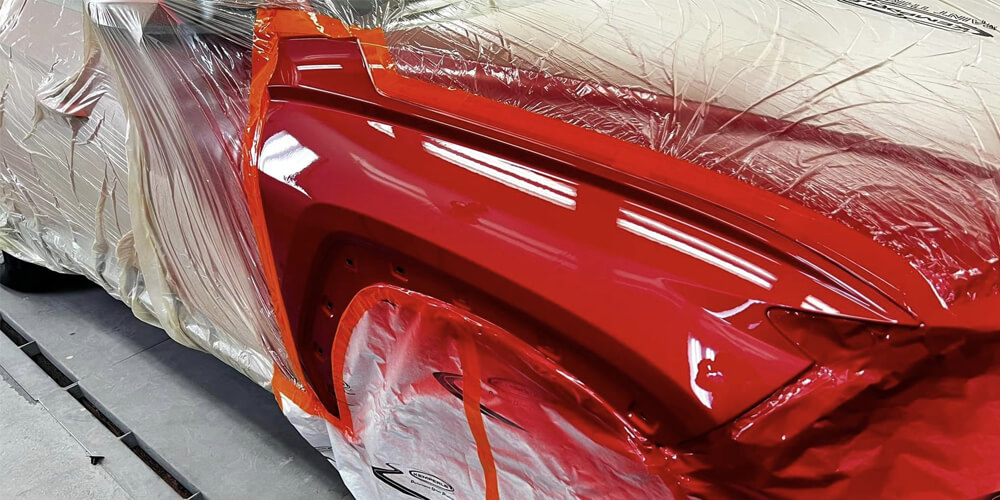
If desired, apply a couple of layers of clear coat for added protection, allowing it to dry between applications. Regular washing and waxing will help maintain the clear coat and prevent peeling or cracking.
Wet Sanding
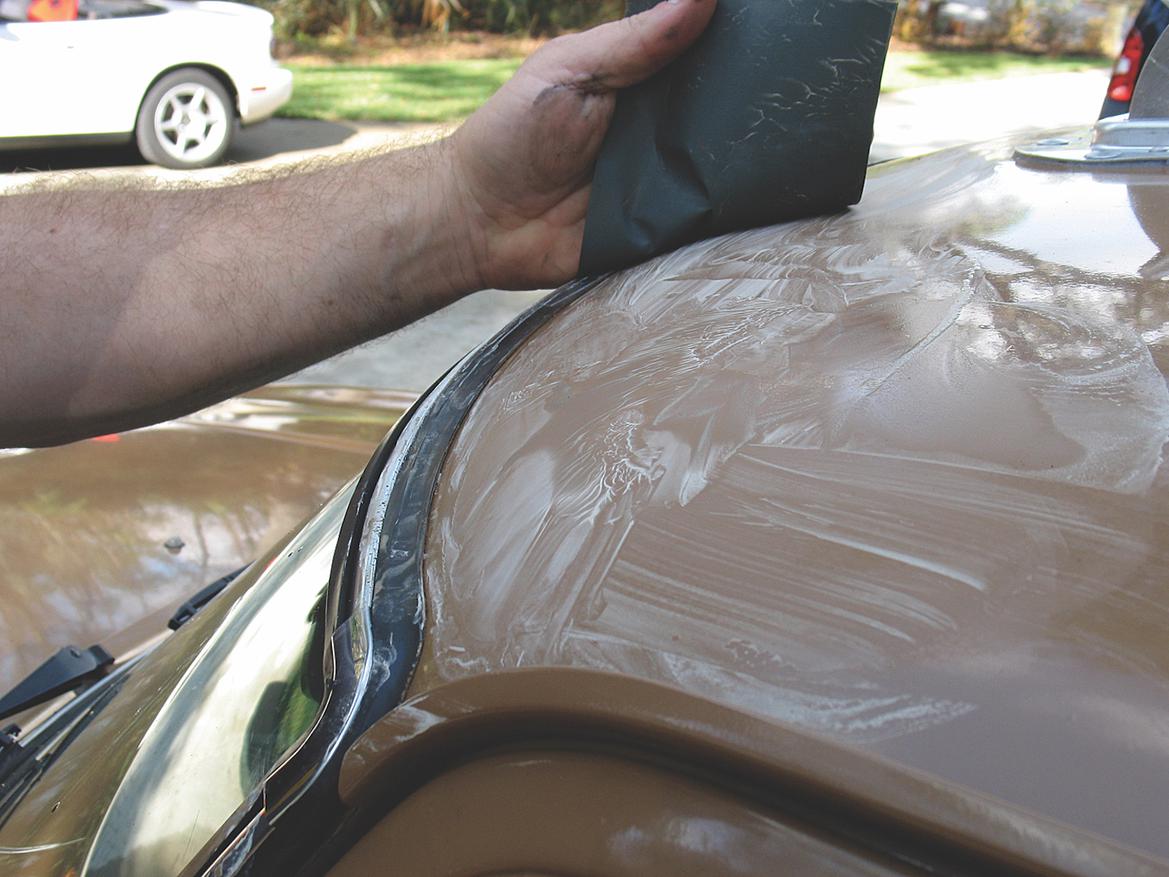
Wet sanding is optional and requires special wet-sanding sandpaper with grits in this order: 800, 1000, 1200, 1500, and 2000. Keep the paper wet to avoid scratches and remove any spots left from the clear coat application
Rubbing Compound
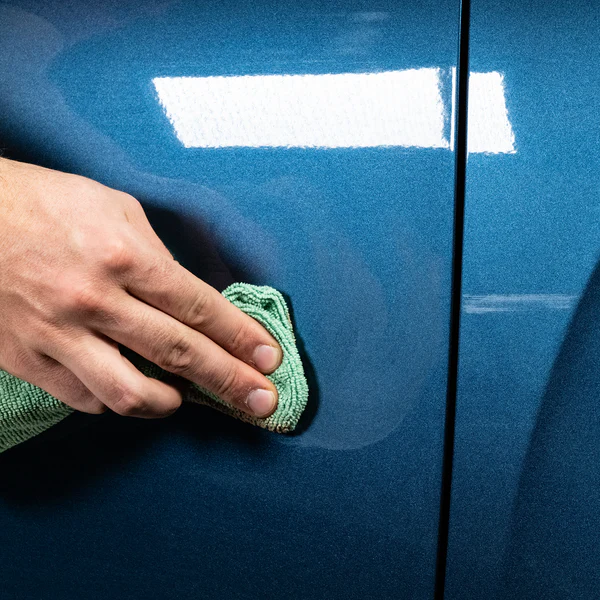
Rubbing ensures a smooth surface for the top coat by removing blemishes. Use an orbital polisher or buff by hand with pressure and a microfiber towel, applying a thin line of product to one area at a time for a consistent finish.
Polishing
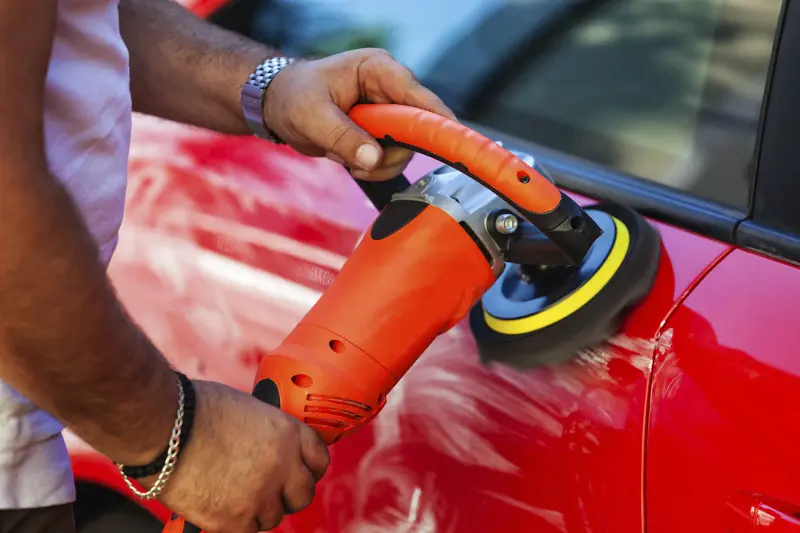
Polishing is one of the final steps before waxing. Use circular motions with a polishing compound, either manually or with an electric polisher, to achieve a sleek, shiny finish.
Waxing
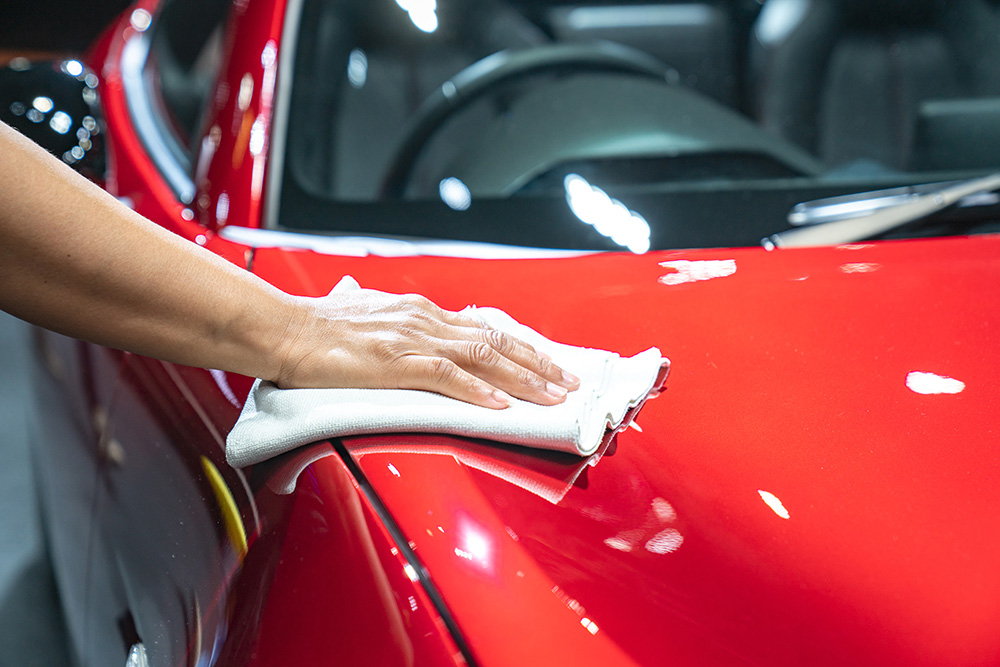
Waxing is optional but gives a professional finish. After painting, buffing, and polishing, wait a couple of weeks for the paint to fully cure before applying thin layers of wax with a microfiber cloth for a brilliant shine.


